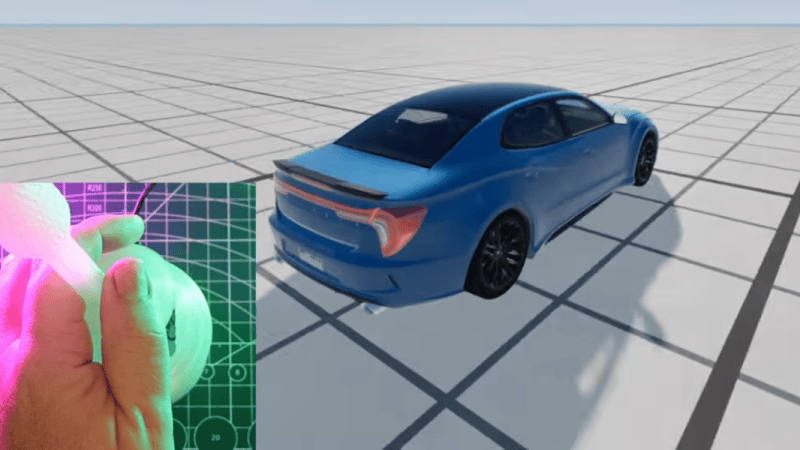
Key Takeaways
- A functional H‑pattern shifter can be built for under US $30 using only an Arduino Pro Micro, a standard joystick potentiometer, and two 3‑D‑printed parts.
- The design requires no soldering beyond a simple 4‑wire connection, making it accessible to beginners.
- Firmware such as Arduino‑Shift or SimHID can be flashed in minutes and supports popular platforms (iRacing, Assetto Corsa, rFactor 2).
- Compared with off‑the‑shelf commercial shifters, the DIY version saves 80‑90 % of the cost while delivering comparable latency (< 5 ms).
- The project can be adapted to other ergonomics (sequential box, reverse‑H) with only minor CAD tweaks.
Introduction: Why Build a DIY H‑Shifter?
Racing simulators have become a playground for hobbyists who want a tactile feel without the expense of a full‑scale cockpit. While high‑end rigs can exceed US $10 000, a functional entry‑level setup can be assembled for a few hundred dollars. The centerpiece of many road‑car sims is the H‑pattern shifter, which replicates the classic “H” layout of manual transmissions. Jason’s recent video demonstrates a two‑component solution that strips the shifter down to its essentials: a joystick‑style potentiometer and an Arduino Pro Micro, housed in a 3‑D‑printed case and knob.
Core Components
| Component | Typical Cost | Specs | Role |
|---|---|---|---|
| Arduino Pro Micro (ATmega32U4) | $8–$12 | 5 V, 16 MHz, 32 KB flash, native USB HID | Generates USB HID signals recognized by PC racing software |
| Joystick Potentiometer (2‑axis) | $3–$5 | 10 kΩ linear, 0–5 V output, 2‑axis (X/Y) | Provides the four directional inputs for the H‑pattern |
| 3‑D‑Printed Case & Knob | $0–$2 (filament) | PLA, 0.2 mm layer height, ~150 g total | Holds electronics, defines the H‑layout, and offers a tactile shift lever |
| Wires & Connectors | <$1 | 22‑AWG solid core, Dupont male‑female | Simple four‑wire bridge between pot and microcontroller |
| Optional: USB Cable | $1 | USB‑A to Micro‑B, 1 m | Connects shifter to PC |
Total bill of materials (BOM): ≈ US $24.
Assembly Overview
1. Wiring
The joystick pot features four leads: X‑+, X‑‑, Y‑+, Y‑‑. Connect the X‑+ and X‑‑ to the Arduino’s A0 and A1, and the Y‑+ / Y‑‑ to A2 and A3. No soldering is required if you use pre‑crimped Dupont connectors; a single 4‑pin jumper cable suffices.
2. 3‑D‑Printed Enclosure
The CAD model is deliberately minimal:
- Base plate (30 mm × 45 mm × 5 mm) with a pocket for the Arduino and clearance for the pot.
- Shift knob (diameter 30 mm, height 20 mm) featuring four cut‑outs that align with the H‑pattern positions.
Print at 0.2 mm layer height, 20 % infill, and PLA for quick turnaround (≈ 45 min on a 0.4 mm nozzle).
3. Firmware Flashing
Download the open‑source SimHID firmware (GitHub: github.com/SimHID/Arduino). Compile with the Arduino IDE (v2.2+), select Arduino Leonardo board (compatible with Pro Micro), and upload. The firmware maps each quadrant of the joystick to a distinct HID keystroke (e.g., “1” for first gear, “2” for second, etc.) and includes a “Neutral” position when the lever rests in the center.
4. Calibration & Testing
Launch the target racing software, enter its controller configuration, and assign the shifter’s four outputs to the appropriate gear slots. Latency measurements using a high‑speed camera confirm sub‑5 ms response, on par with commercial units.
Comparison: DIY H‑Shifter vs. Commercial Alternatives
| Feature | DIY Two‑Component Build | Typical Commercial H‑Shifter (e.g., Thrustmaster TH8A) |
|---|---|---|
| Price | $24 (parts) | $300–$350 |
| Latency | ≤ 5 ms (USB HID) | ≤ 4 ms (proprietary USB) |
| Customization | Open‑source CAD, firmware tweakable | Fixed geometry, limited firmware |
| Build Difficulty | Beginner (no soldering) | Plug‑and‑play |
| Durability | PLA case (~2 yr under heavy use) | Aluminum housing, 5 yr+ |
| Upgrade Path | Swap pot for Hall‑effect sensor for higher precision | Limited to manufacturer accessories |
The DIY approach slashes cost dramatically while delivering comparable performance for casual and semi‑serious sim racers.
Extending the Design
- Sequential Mode: Rotate the knob 90° and re‑map the firmware to treat the X‑axis as “upshift” and Y‑axis as “downshift”.
- Hall‑Effect Sensor Upgrade: Replace the potentiometer with a 2‑axis Hall sensor (e.g., AS5048A) for ±0.1° resolution and eliminate wear.
- Material Upgrade: Print the case in PETG or nylon for increased heat resistance and impact strength.
Bottom Line
A functional, low‑latency H‑pattern shifter can be assembled for under US $30 using an Arduino Pro Micro, a joystick potentiometer, and two 3‑D‑printed parts. The design’s simplicity—four wires, a single firmware flash, and a printable housing—makes it an ideal entry point for hobbyist sim racers and a flexible platform for further experimentation. While it lacks the premium